Strony

16 września 2015

Damask element

Hi Friends!
I want to show you today this very simple card. I wanted to make something classy and elegant, so I stamped this kind of damask looking element in the middle of my panel and repeated stamping on the sides. I added a birthday sentiment, but something was still missing, card was too plain..so I thought, a little rainstone on the middle element will do the job and complete the project:)

Have a wunderful day!


25 sierpnia 2015

Dress Form

Hello today!
I have a little older card today. I think I made this one about a year ago, and found it while digging in my box with cards today. Even if it's an old one I decited to share it here now. I really love this project probably for it's colors:) pink & teal....hmmm who doesn's love them???!! This pretty dress form stamp is just amazing, it has those swirls on it that make the stamped image very elegant. I used beautiful ink pads by Tim Holtz for my project. I don't remember the papers I used, but those were probably some scraps that I always like to keep. I distressed the edges to give more dimension, also punched the edge of my base.

Wishing you a lovely day!


22 sierpnia 2015

Yum yummm...

Hey everyone!
What a yummy card I have for you today:) it is so hot outside that I felt in a mood to use this cute ice-cream stamp to cool myself a bit...Isn't it adorable?? I colored my image with distress inks. Bright and intence colors remind summer. I used stars mask for the background added sentiment and little green ribbon to finnish my project. Hope you like it:)

Stay cool everyone


17 sierpnia 2015

Rolled flowers

Hello again:)
I'm shearing today another flower card. This time I created a bouquet of rolled flowers as a focus poind on the project. I have chosen very vibrand pink paper and stamped little flowers with versamark ink to make a background. I ripped a piece of corrugated paper as an accent and put this pretty flourished paper underneath. I stamped the greeting on a label die-cut. It is not very visible on the pictures, but I also embellished the edges of flowers with gold stickles for some sparkling effect.
Hope you like my project:)


14 sierpnia 2015

Glamour flower

Hi friends!

Long time no layout on this blog, so today I decided to share one of my favourite, that I made a while ago, but never posted. This layout is a combination of stamping and embossing. I wanted to create a very vintage and glamour look, The picture of me was taken by my friend, who is a great photographer, We were looking for an old-fashoned look and I think my friend did a good job. I love this picture and the layout. The big flower is handmade from single patels. I added those beautiful blue brads as a flower center.For "leaves" I used black and blue feathers and a pearl trim to finnish the flower. The title is made out of single circles that I punched, I stamped and embossed letters for word "Moments". I also embossed this beautiful chandelier in black and added a letter "K" embellishment with some pearls on a side. 


13 sierpnia 2015

Live with PASSION

Things we love and things we share with others, make us better people. Live with PASSION.....


vintage butterfly

Today I want to show you a buterfly card I made recently. I love this butterfly stamp set. The colors are soft and "earthy" for more vintage effect. I combined browns with pale pinks. I disstressed the edges of my papers and added creme pearls as an accent.


29 czerwca 2015

Blossom

  What is a better focus point on a card than a pretty blossoms? I got an ispiration for this card from our garden where we have a few beautiful bushes. For my flowers I used a stamp, didnt have a matching die so I fussy cut them. Leaves come from another stamp set. The cute polka dot paper comes from ProArt paper pad.

Stamps and Inks I used:

* "The Sweetest Thing " by My Mind's Eye stamps set
* "My Friend Ronnie" (party sentiments)
* "Flower Fusion #1" Papertrey Ink
* Memento Inks: bahama blue, marocco, corrage ivy


26 czerwca 2015

Processing...

   I can certainly say, that when I get in that creative  mood I can make up to 20 cards within a few hours... I get  inspired and ideas appear in my head and I just can't stop crafting!  I have made many cards lately, photographed them today, edited and got them ready for my future blog posts.
   Expect new cards soon!!!


11 maja 2015

Say "HELLO"

It's been 2 weeks since we moved into a new house in a new neighborhood, so it's time to meet our neighbors. Making a "HELL0" card is a good way to introduce yourself and your family. When I was thinking about a design for my cards I decided they must be easy and quick to make, because I had to make a bunch of them. I didn't want to spend hours on coloring images or cutting shapes. Stamping seemed to me like a great choice. I made 15 cards and it only took me 15 minutes:)))


20 lutego 2015

Easy DIY baby Flash Cards:)

Helo everyone:)

    Today I will show you how to make those fun flash cards for your baby. I always see my friend's babies play with cards like this and wanted them for my son too. I know it would be much easier to buy them, but I wanted mine to be in two languages, because we speak polish and english at home. That's why I decided to make my own cards. I think it is a very fun and simple project, especially if you like coloring like me!!! Lets get started!!

The list of supplies we will need:


  • cardstock
  • paper trimer or scissors
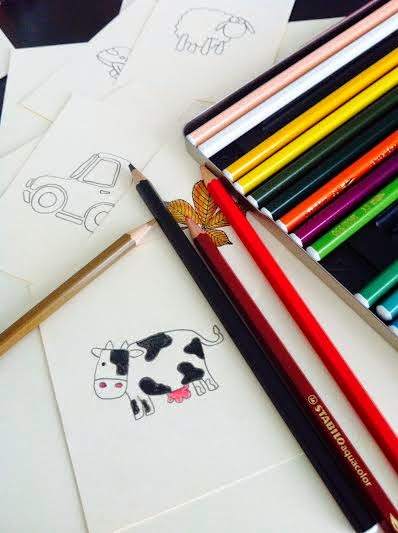
  • color pencils (markers or paints are good too)
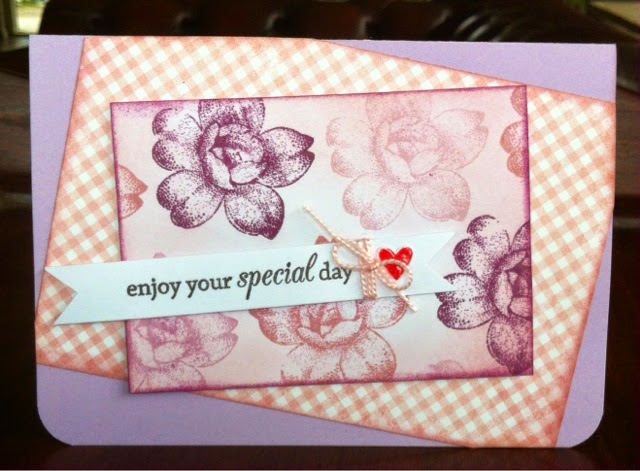
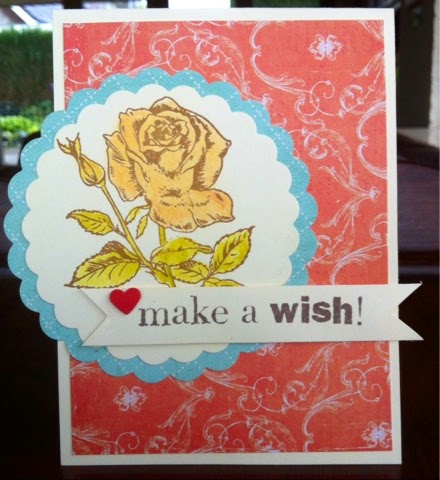
  • stamps with fun images
  • ink pads
  • black marker (to write the words)
  • pencil
  • 2 rings for binding


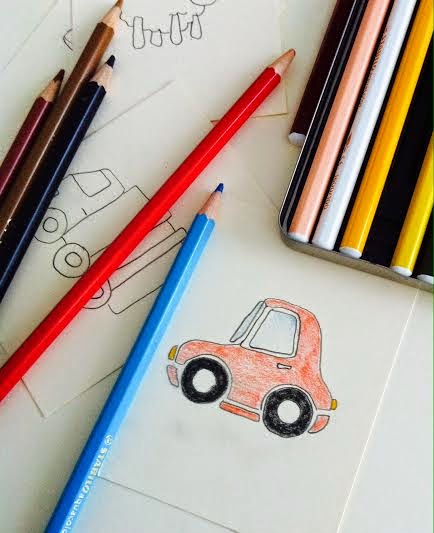
In this project I used stamps for some cards and for others I drew images myself (just for more fun)


Cut the cardstock into 3x4 inches cards using a paper trimer (you can use scissors too).


Stamp your images using your ink pads or draw them with a pencil and color them.


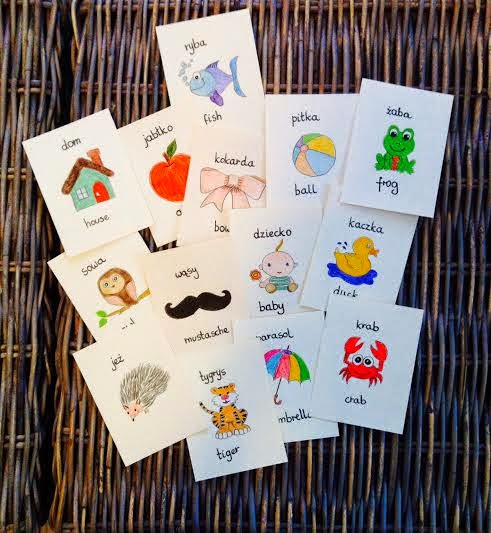
Write your words with a black marker. I wrote in two languages.


Those are finnished cards.


The last step is to laminate cards for protection. I laminated them at the print shop. Remember to round the corners of the laminat so that your baby wont hurt himself !!!(I used a corner punch to do that).  Punch the holes and put rings to make a little book. Hope you like my project:) Have fun making your own cards!